
Creamed Chipped Beef on Chaffle
Creamed chipped beef on toast (otherwise known as shit on a shingle) gets a keto upgrade with a chaffle base and a gluten-free and low-carb cream sauce.
Real Recipes for Real Families
Creamed chipped beef on toast (otherwise known as shit on a shingle) gets a keto upgrade with a chaffle base and a gluten-free and low-carb cream sauce.

A keto copycat recipe for the McDonald’s favorite, with fried eggs, Canadian bacon, and American cheese between two English muffin chaffles.
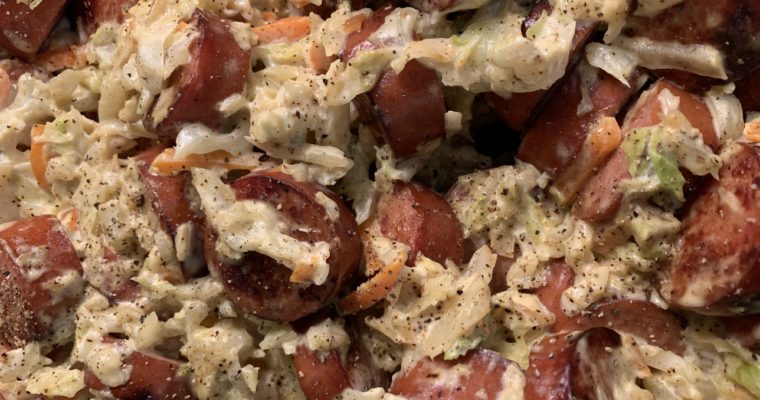
I’ll start off by fully admitting that I’m not sure how “Brazilian” this actually is. We call it Brazilian because my Brazilian great-aunt used to make it when she visited us while I was growing up. It does use my Brazilian Green Stuff wet rub as its only seasoning, though. So it’s Brazilian until someone tells me otherwise.
This is going to have a lot of steps, but it’s actually a lot easier than it sounds. There are very few ingredients, all things considered. It’s just getting them layered properly that’s the rub. If you don’t put it together properly, the cheese will leak out all over everything and it won’t be as good. And honestly, even if you do put it together properly, it’ll leak a little bit. You just want to keep that to a minimum, so you have a bit of gooey cheese in every slice. So make sure you read the steps and look at the pictures for this one.
Start off with a large bowl. You want it really big, because you’re going to be putting three pounds of meat in that bad boy. Dump in a pound of ground beef, a pound of ground pork, and a pound of ground veal. If you have moral objections to veal, you can do a pound and a half of the beef and pork. Then add a rounded tablespoon of Green Stuff, two eggs, and a half-cup of grated parmesan cheese. Mix that together with your hands until you can’t differentiate the meats anymore and all the egg is incorporated.
Here’s where things get interesting. Grab a loaf pan and put about half the meat in the bottom. Press it up the sides so you make a…meat tunnel? Meat chasm? Meat trench? I can’t come up with a description of this that doesn’t sound dirty.
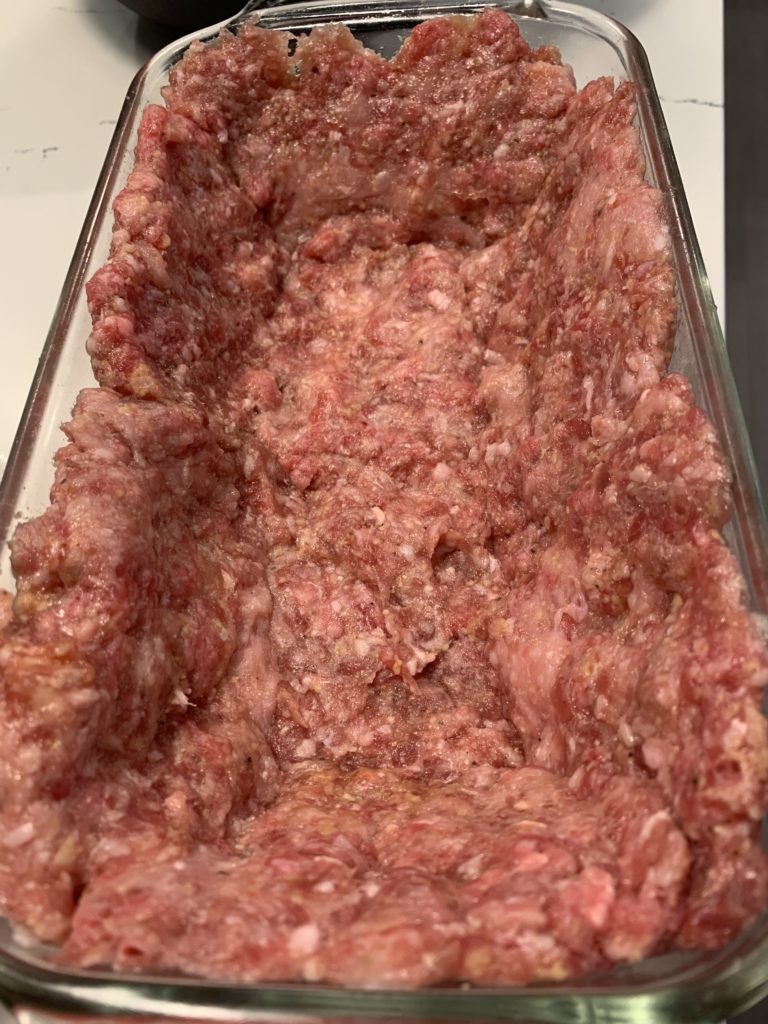
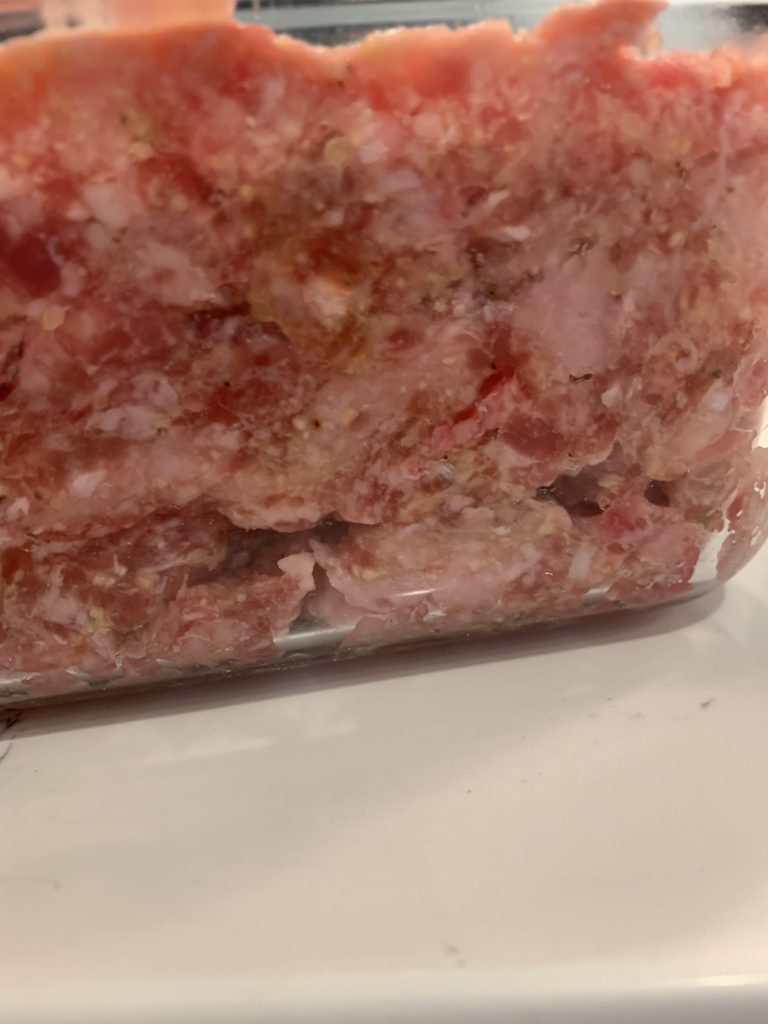
You’ll want to be really careful to do this part right, as it’s the foundation of the entire dish, and any air holes or gaps you have here can lead to all your cheese running out. So see these air holes near the bottom of the loaf pan in the picture below? Those are the devil. Reach in there and seal those up before you get started. This is why I always make this in a clear glass loaf pan. Otherwise you’re kind of rolling the dice.
Get three slices of deli ham. You’ll want these to be fairly thick, because they’re the first line of defense against the cheese. Fold them in half and line the meat trench with your ham folds. Press them up the ends.
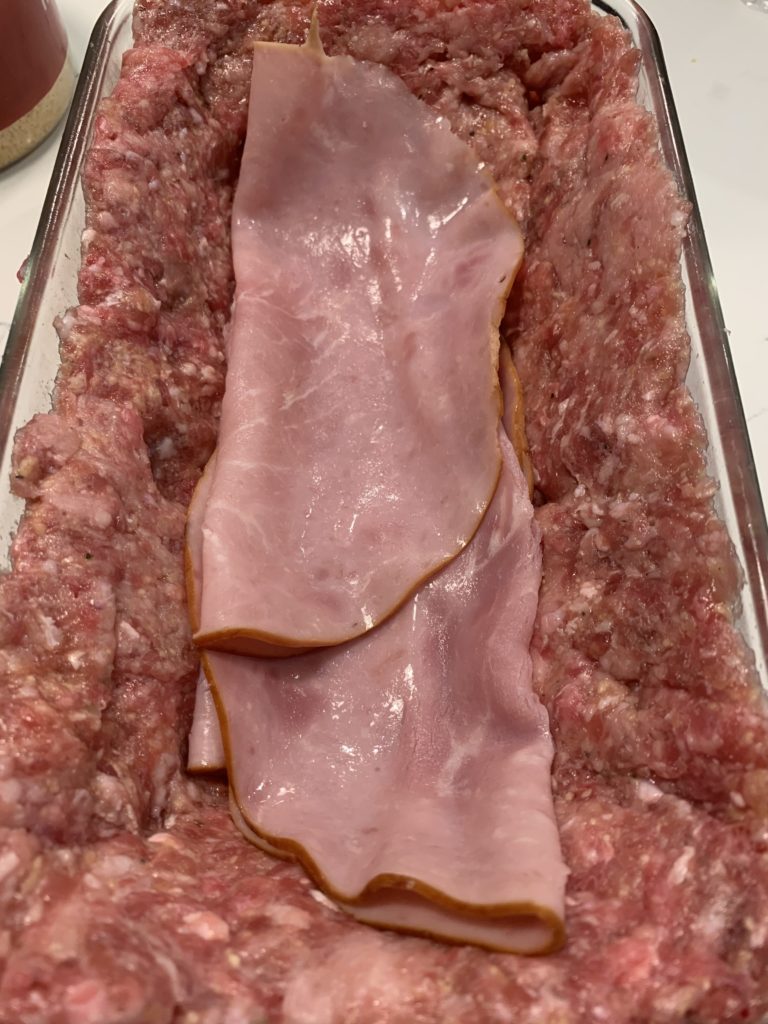
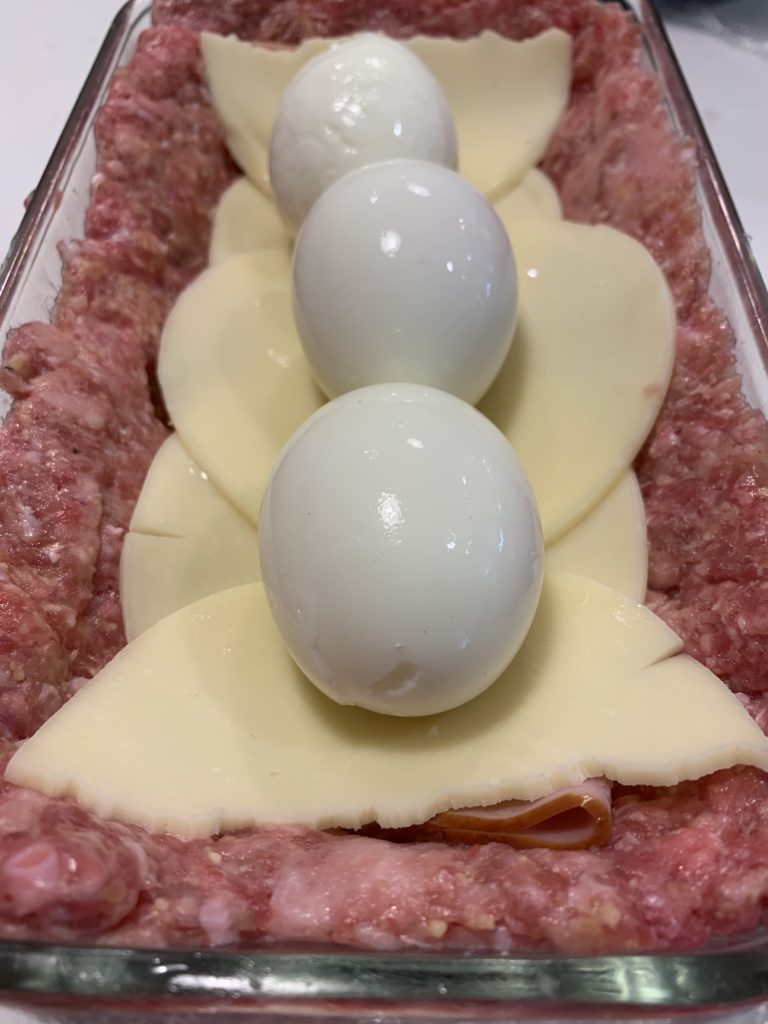
Next, put in the cheese. Four slices of provolone or mozzarella, torn in half. Layer them over the ham.

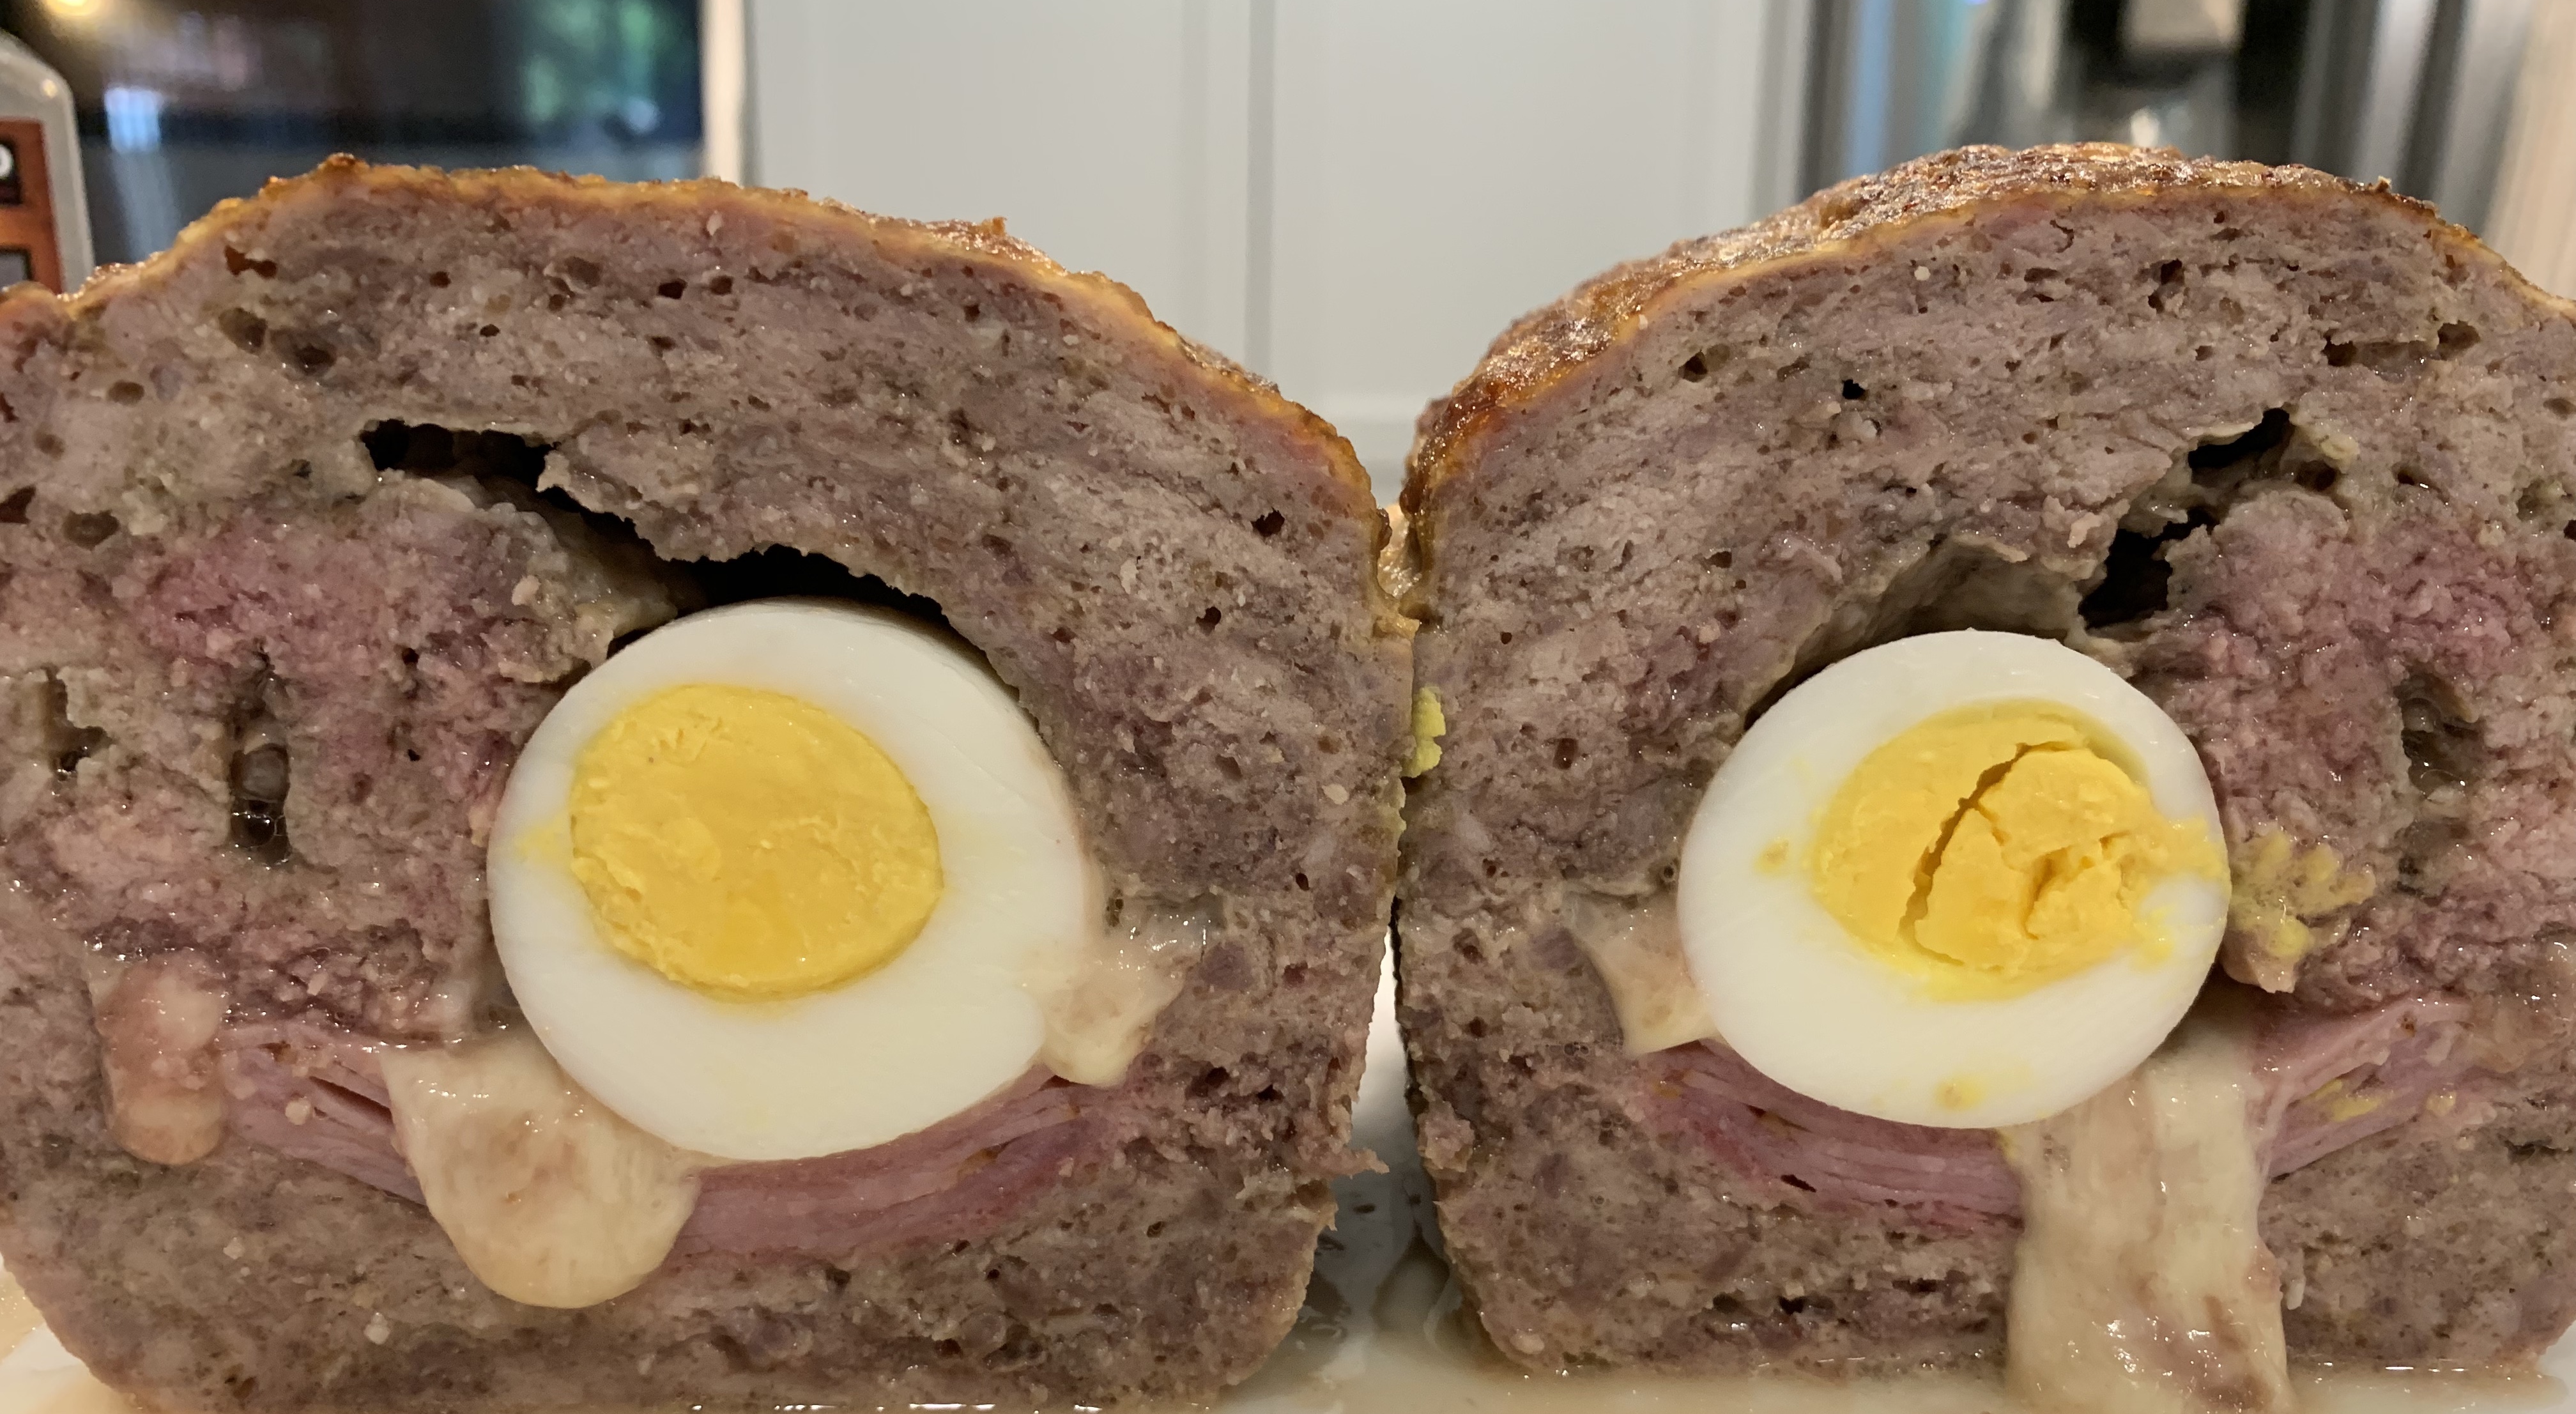
Finally, the key ingredient. Line up three hard-boiled eggs in there on top of the cheese. I have the world’s best hack for hard-boiled eggs, so I’ll let you know what I do. I have this awesome electric kettle that is perfect for boiling eggs. Pop your three eggs in there, fill the kettle with water, turn it on, and then as soon as the kettle switches off after reaching a boil, set a timer for 12 minutes. When the timer is done, pour out the hot water and fill the kettle with ice water to cool off the eggs. To peel them, crack them on the counter and then roll them on the counter with your palm. They’ll peel easily. Or, well, mostly easily. I still had one that wanted to be a pain. I made it sit in back.
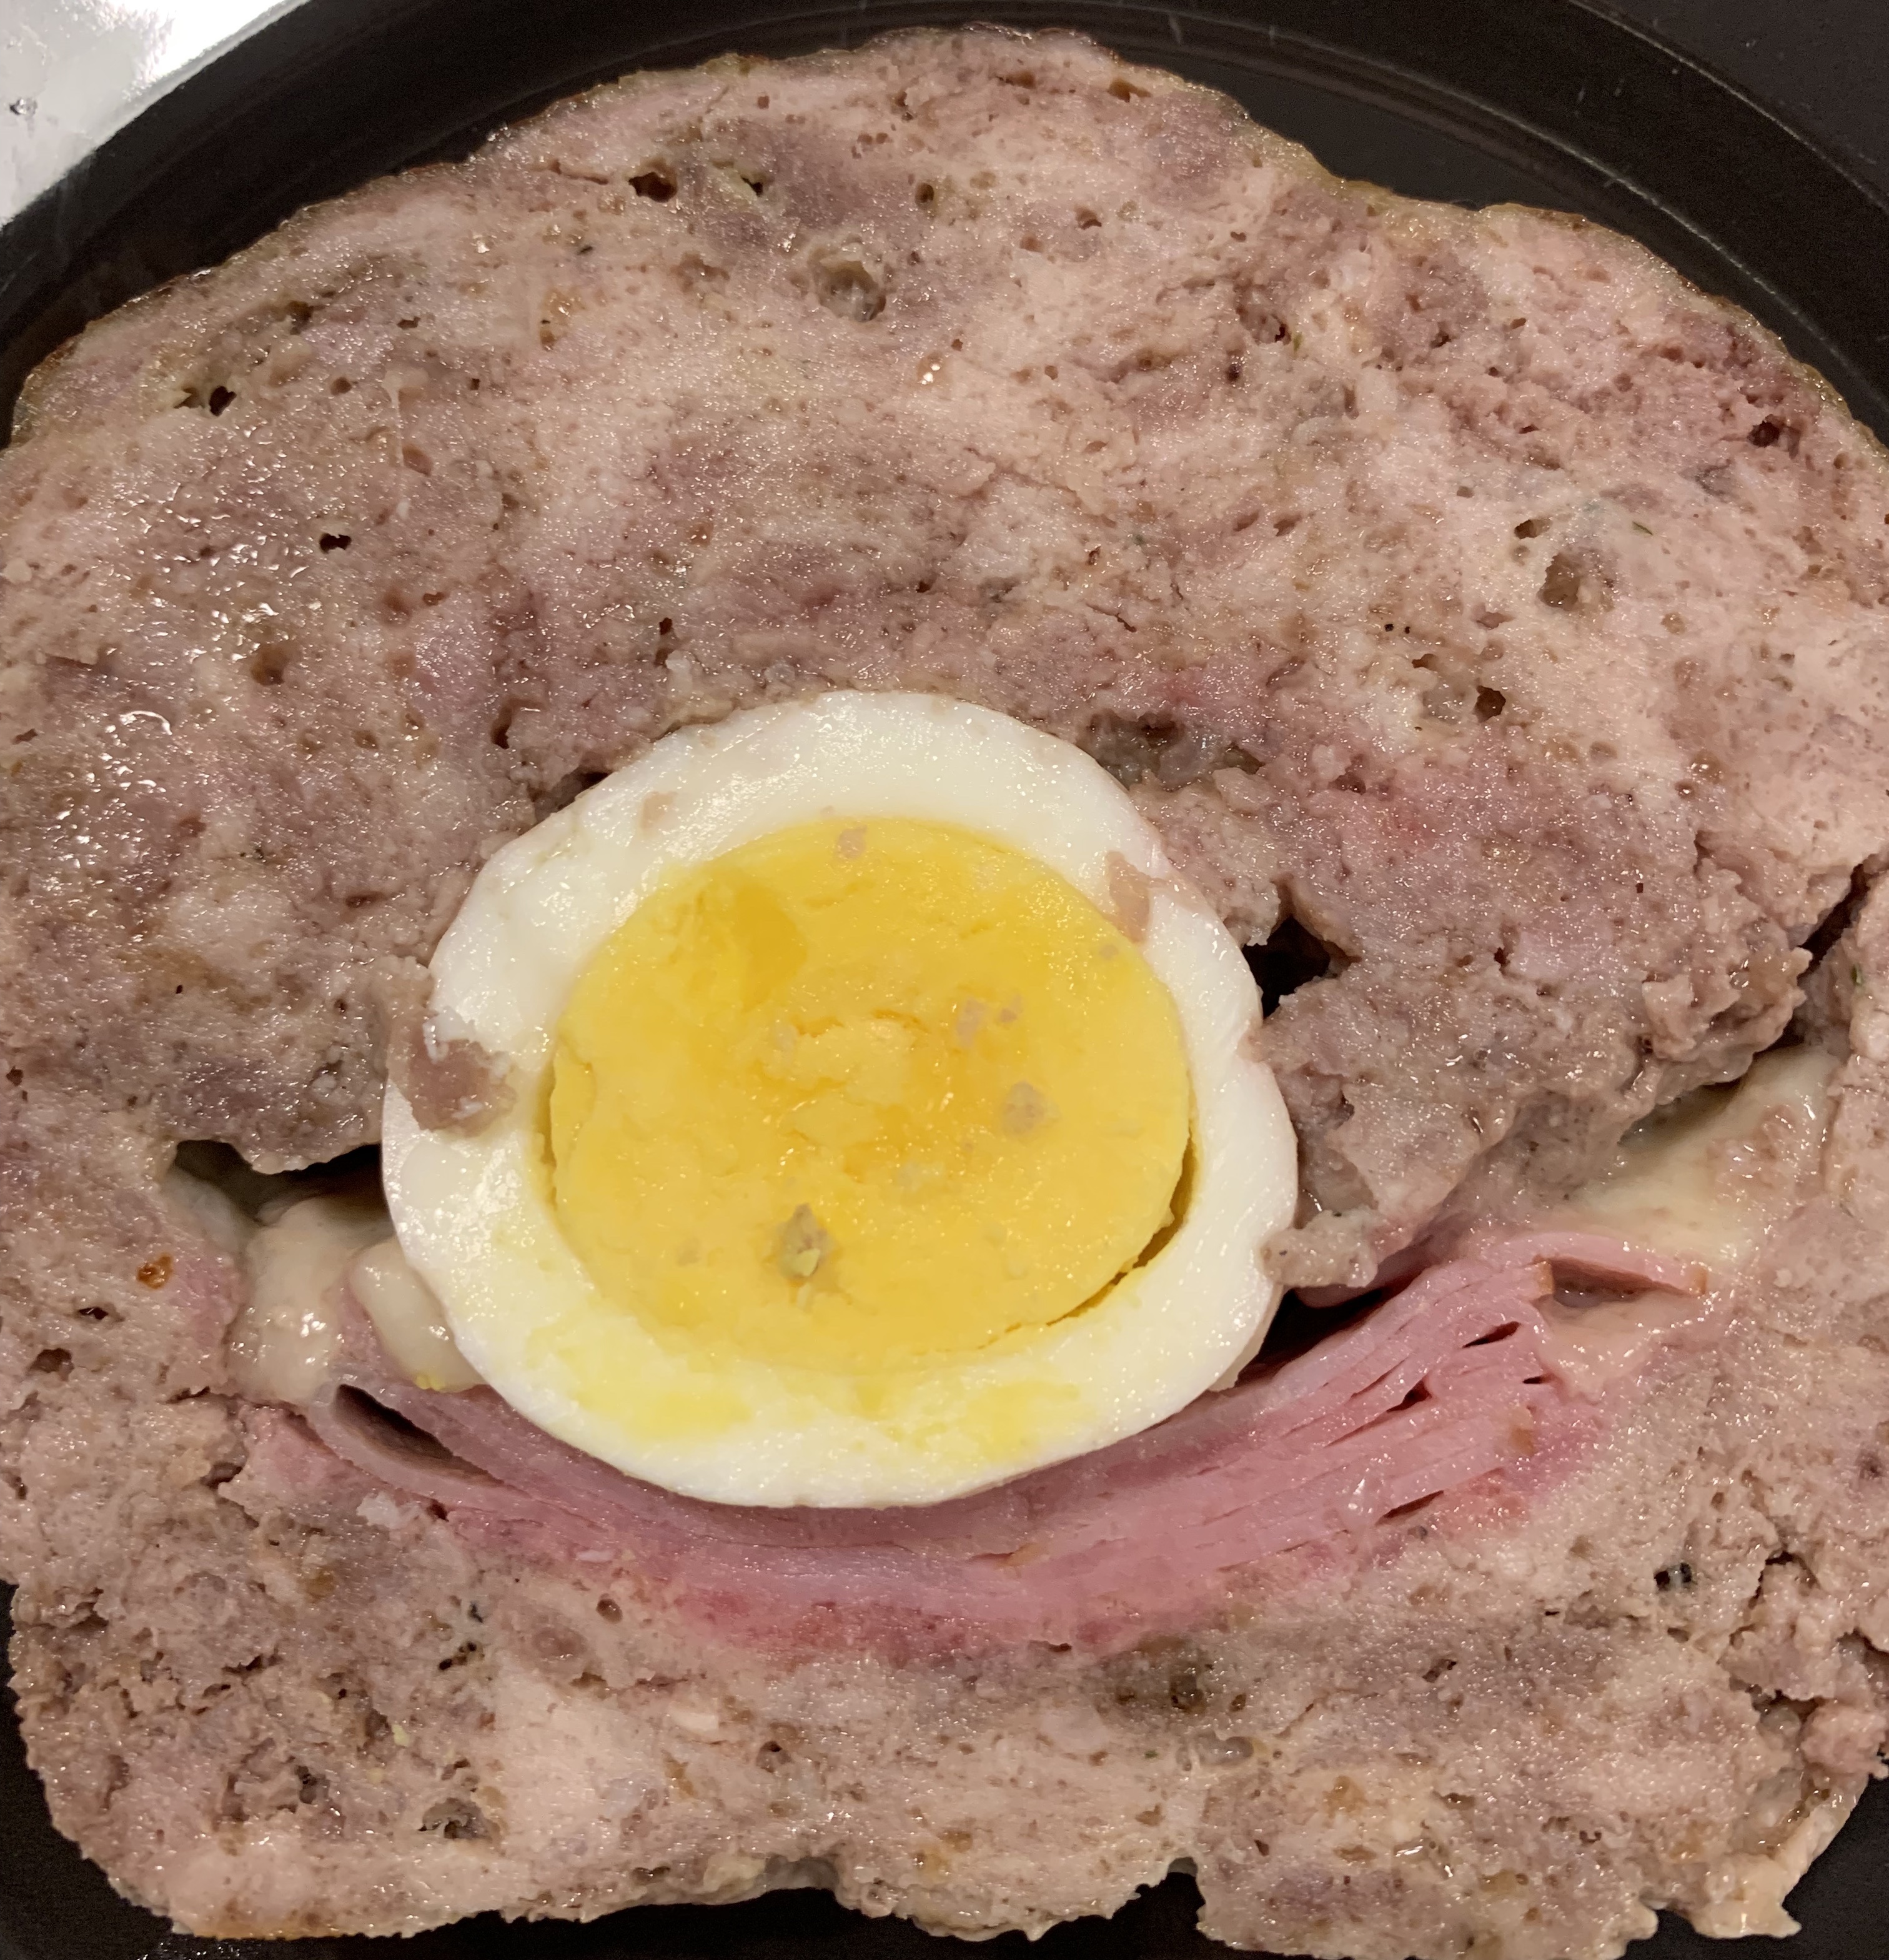
Top it with the rest of the meat mixture. Again, be really careful to fill in all those seams and air holes, because that’s where your cheese will escape. And let’s be honest, it’ll still escape. We just want a minor scrape rather than a sucking chest wound. When you have a meatloaf, put it on a foil-lined rimmed baking sheet, because the meat juices have a tendency to overflow the pan. Bake it at 350 degrees for an hour and 20 minutes. Wait at least 30 minutes before slicing it if you’re using it for meal prep, because you’ll want the cheese to be less runny and the slices hold up better that way. Otherwise, hack into that bad boy right away. This makes ten servings, which makes it perfect for meal prep for two people for an entire work week. I serve mine with cauliflower mash. This one doesn’t freeze particularly well, because of the egg, but you can freeze and reheat in a pinch.

As an Amazon Associate I earn from qualifying purchases. Any embedded link to a product earns me a portion of the purchase price if you click and buy it.

A keto copycat of the McDonald’s McGriddle, using a variation of the infamous “chaffle” recipe as the bread. An addictive blend of sweet and savory!
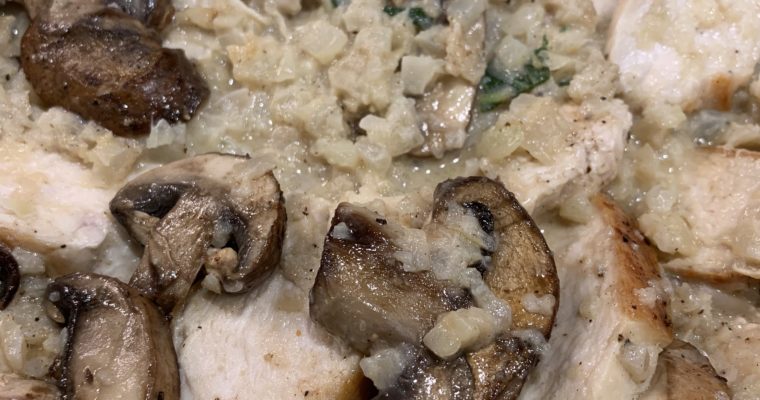
An elegant cauliflower risotto with browned butter, sage, parmesan, chicken, and mushrooms. Decadent and healthy all at once!
If you’re like me and you love Starbucks way too much, you’ve probably had their sous vide egg bites before. The bacon and gruyere ones are super addictive, and they’re great to grab on the run if you need a fast-food breakfast. But they do have a lot of fillers and preservatives in them, and at 9 net carbs per serving, you might have to do some adjusting to fit them into your day. Luckily, if you have a sous vide appliance, you can make these yourself, with much cleaner ingredients and lower in carbs. And they’re actually simple to make! The recipe is also incredibly versatile. The ingredients are only limited by your imagination.
You’ll need 10 lidded 4-ounce Mason jars to make these. Amazon has a bunch of different brands of these, but the ones I linked are the ones I trust, because I’ve used them many times and have never had any major leaks or breaks. Most of the things I use these jars for require higher temperatures, so it’s important to ensure that your glass is strong. If you don’t plan on eating these directly out of the jars, you’ll want to coat the insides with a layer of butter. Otherwise, just use the jars themselves. I’ve never bothered eating them outside of the jars because I’m lazy and I don’t want to dirty another dish.
You’ll also need an immersion blender for this unless you want to drag out and dirty your regular blender. I love immersion blenders for small jobs like this, because they’re so convenient. Clean-up is so much easier, especially when you’re on the go and don’t have time to do it immediately. Just rinse it off and save the soaping for later. As long as you don’t let stuff dry on the inside of it, you’re golden.
Now that you have all your supplies together, it’s time to make the magic happen. First, cook six slices of bacon. I like to do mine in the oven by lining a cookie sheet with foil, putting the bacon slices on it, and then putting it in a cold oven. Turn the oven on to 400, and keep an eye on it once it reaches that temperature. About 5 minutes after the oven hits 400 is when it’s done to my personal liking, but your bacon preferences may vary. Put the bacon on a paper-towel lined plate to drain and cool.
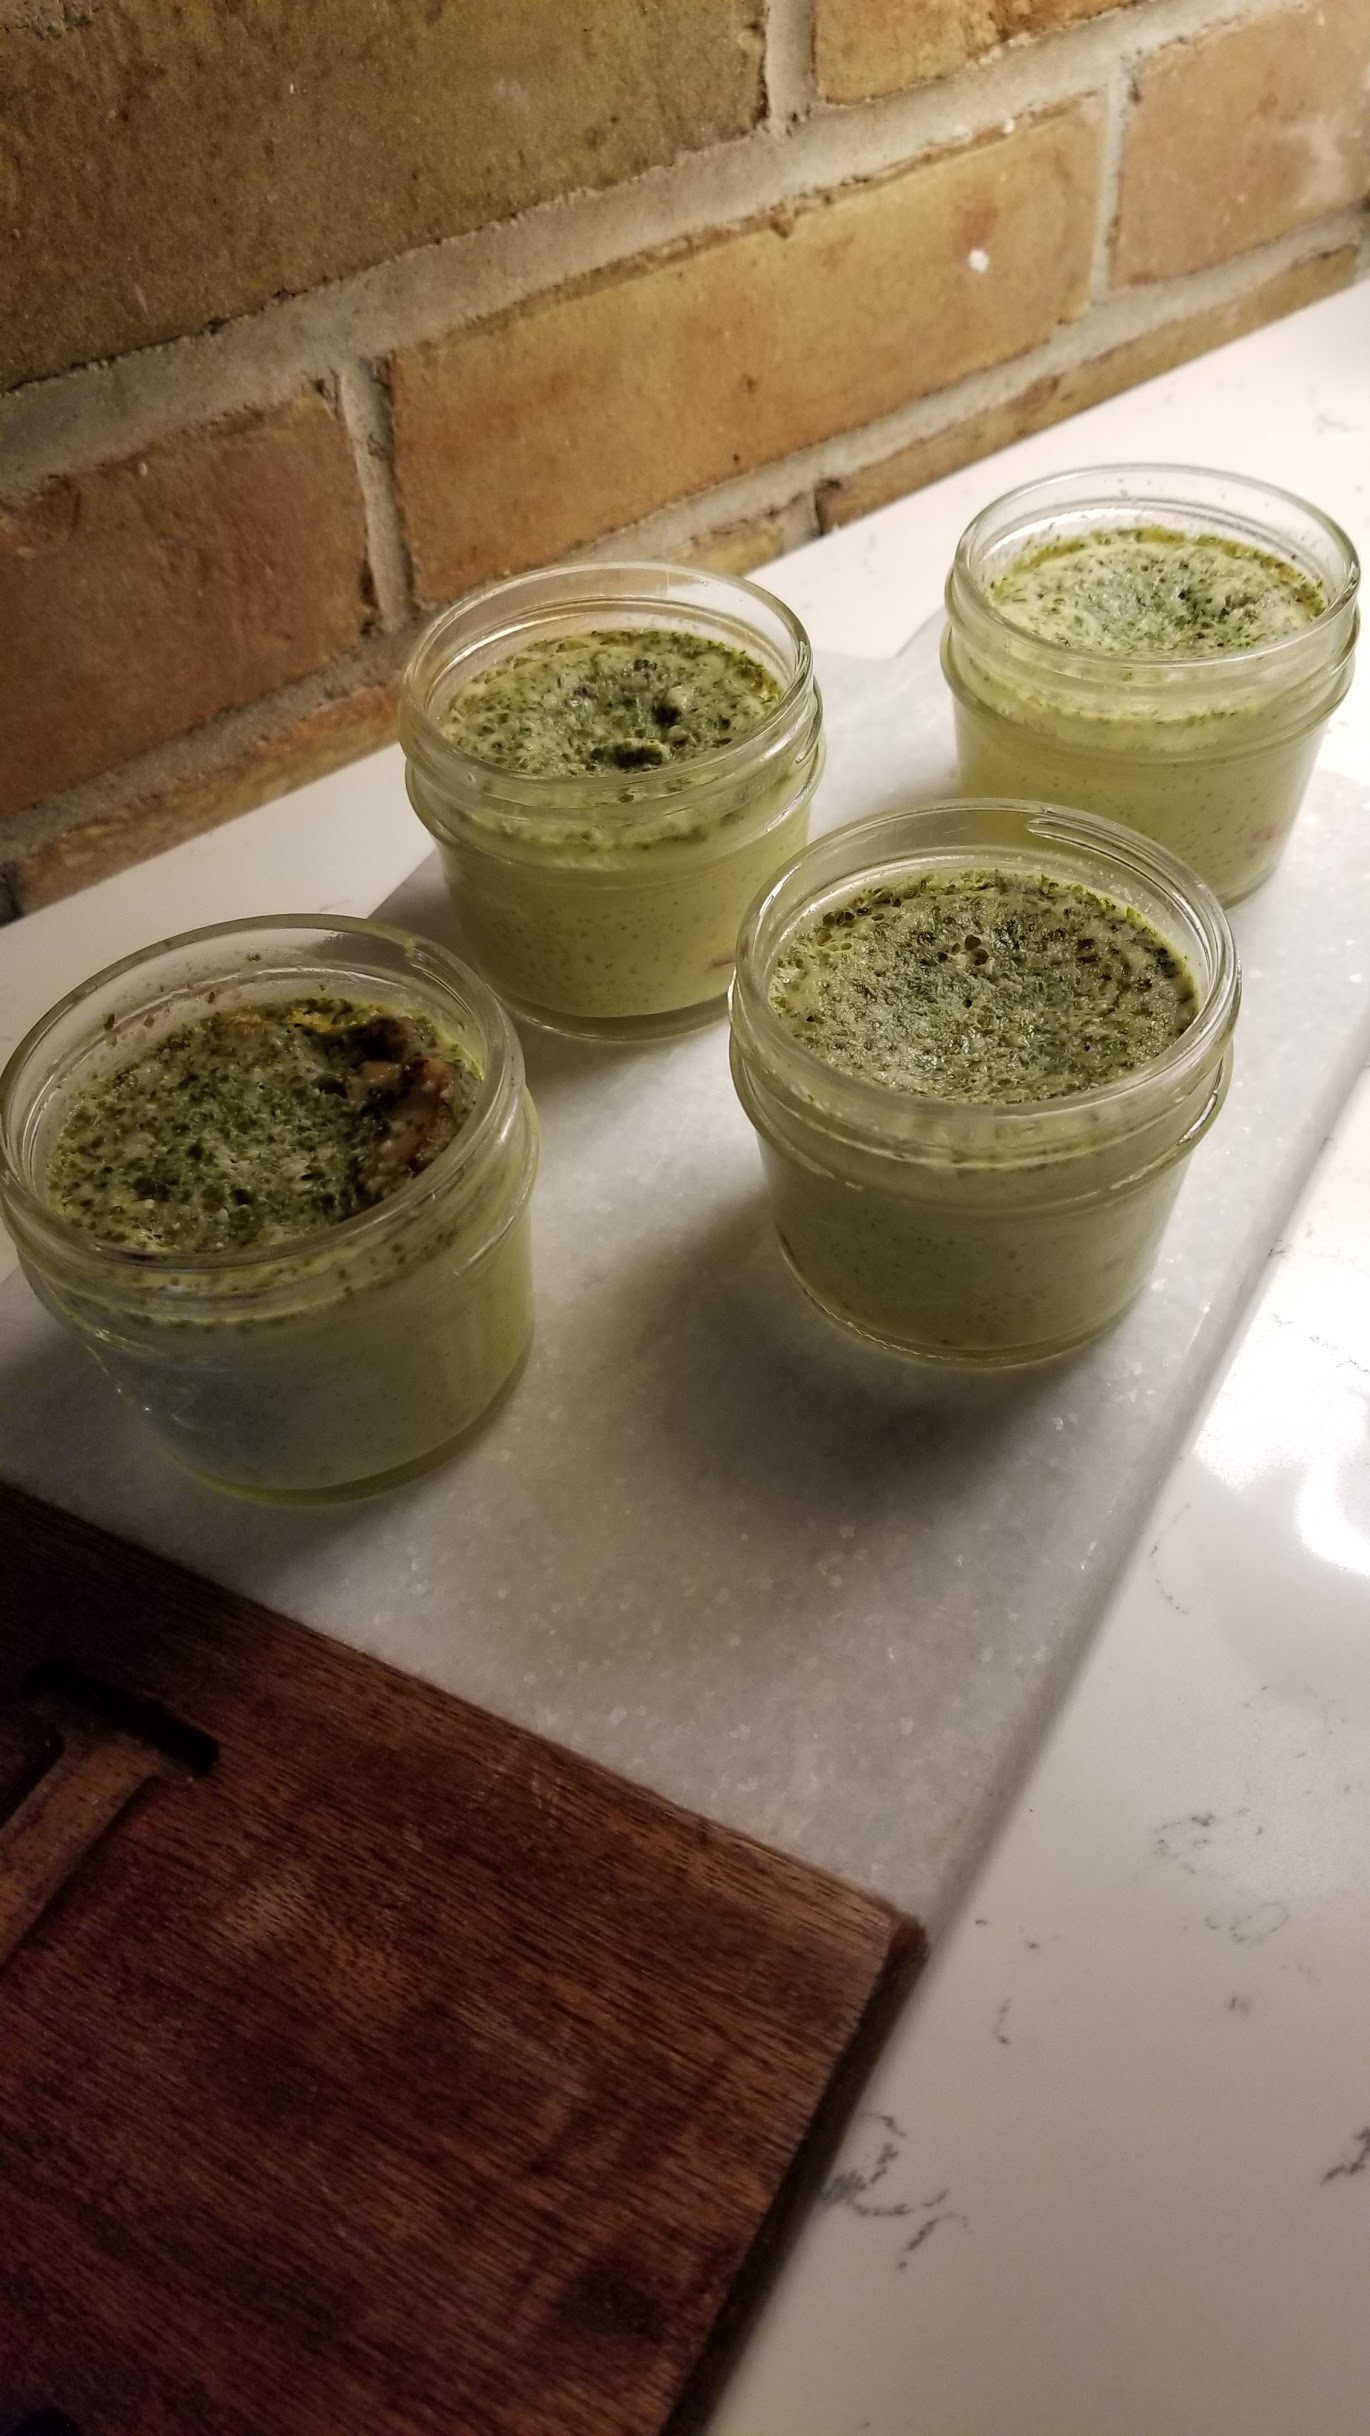
Fill your sous vide container with enough hot water to come up to the bottom of the jar lids when all of them are in there. Don’t forget about that water displacement thing or you won’t be a happy camper. I like to put my jars in it as I fill it so I know I have it right. Set your sous vide to 172 degrees Fahrenheit, or between 77-78 degress Celsius. Break a dozen eggs into a large mixing bowl. Add 1/4 cup heavy cream, 1/4 cup pesto, 4 ounces (1 cup) of shredded Italian blend cheese, and black pepper. Using the immersion blender, blend it until the mixture starts to get a little frothy. This took me about a minute.
Now it’s time to prepare the jars. Grease them with butter if you need to, then put bacon in the bottom of each one. You can either crumble it, or use about 1/2 to 2/3 of a slice of bacon per jar. I broke it into pieces and criss-crossed them in the bottom of the jar, kind of like the Starbucks ones. The bacon may float a bit once the eggs are in there. Add the eggs after that, filling up to where the bottom of the lid will be when you put it on. You’ll want to stir up from the bottom of the eggs because the blended up cheese may sink a bit. Once the jars are filled, tighten the lids using your fingertips only. You don’t want them too tight, or else they might explode. Put them in the sous vide container for an hour, then take them out and let them cool for at least 30 minutes before refrigerating them. You can reheat them in the sous vide, or if you’re like me and don’t have time for that, about 45 seconds in the microwave will do. Congrats, you now have enough breakfasts to get two people through an entire work week!

As an Amazon Associate I earn from qualifying purchases. Any embedded link to a product earns me a portion of the purchase price if you click and buy it.
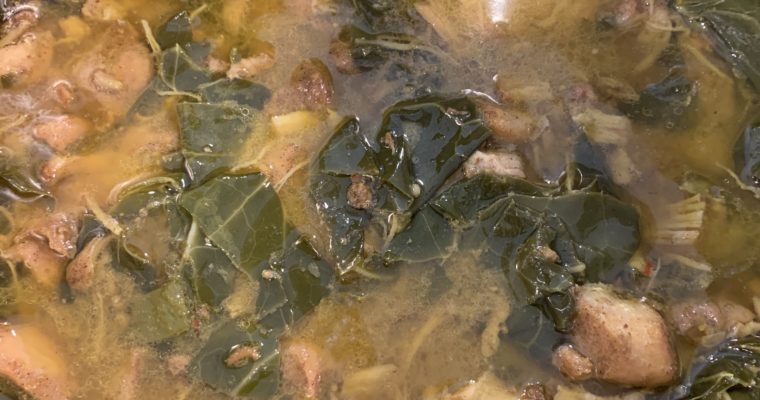
A wonderfully spicy and flavorful Jamaican keto stew with healthy dark leafy greens.

A low-carb single-serving breakfast pizza made with the infamous keto fathead dough and topped with bacon, eggs, and a sawmill gravy sauce.
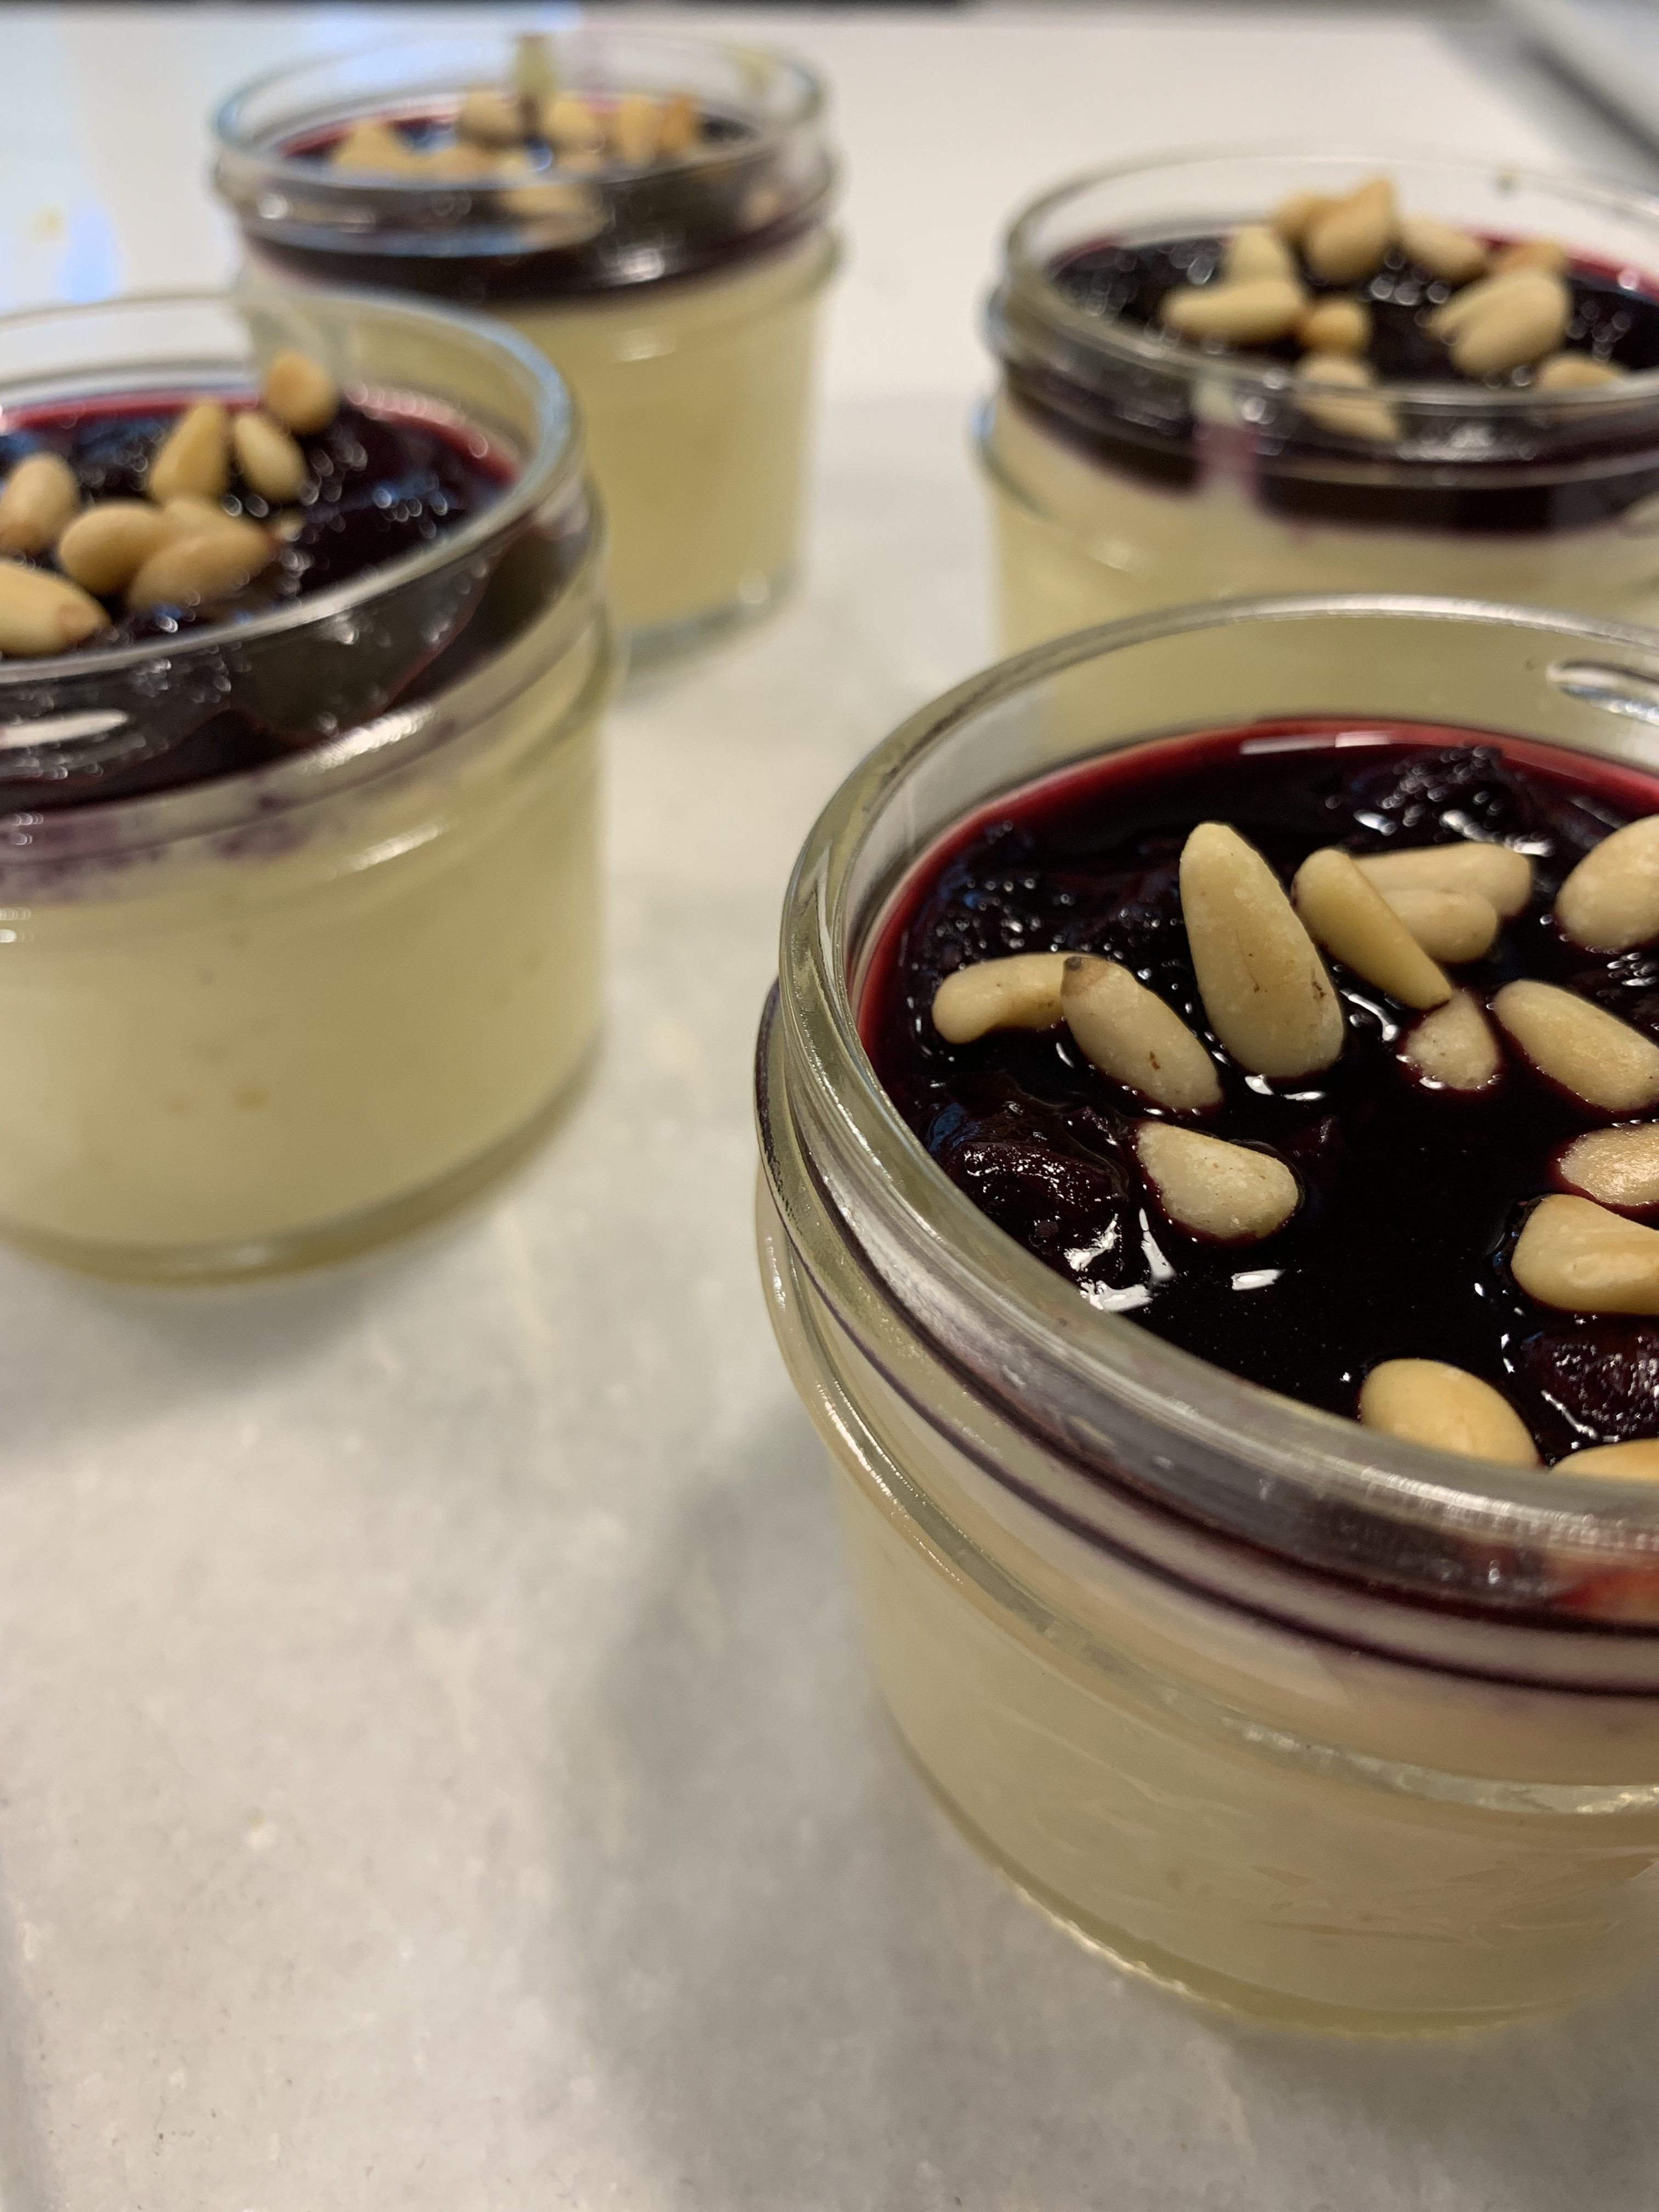
These are easily the cutest little things I’ve ever made. And while you might be thinking that these would be great desserts for a fancy dinner party (and they absolutely would be, don’t get me wrong), I actually made them for breakfasts. You know, sometimes, I just get sick of eggs, and sweet stuff for breakfast is always fun. What you end up getting with these is a lovely sweet and tart, dense and creamy cheesecake, with a topping that almost turns to jelly after it’s refrigerated, and a nice hint of savory with the pine nuts and basil. And thanks to the sous vide, they’re perfectly cooked all the way through.
So let’s start with this sous vide thing. It literally translates to “under vacuum,” and it’s one of the coolest cooking processes ever. Keep an eye on this blog, as I’ll frequently post a good sous vide recipe. I always joke that my sous vide carnitas are why I’m married, because I swear they made my husband fall in love with me. But I digress. The general premise behind sous vide cooking is that you cook your food in a vacuum sealed container in a water bath that is maintained at the same temperature throughout the cook. What this means is that you don’t have parts of the food that are overcooked or undercooked. It’s great for meats, and you can do some really fun egg dishes, custards, and the like. You’ll need a special apparatus to do it, though. I use the Sous Vide Supreme Demi, because I got it several years ago for a gift. It’s a tank, so I highly recommend it. But if you’re not willing to plop down that much money on a kitchen device, I have several friends who swear by the Anova.
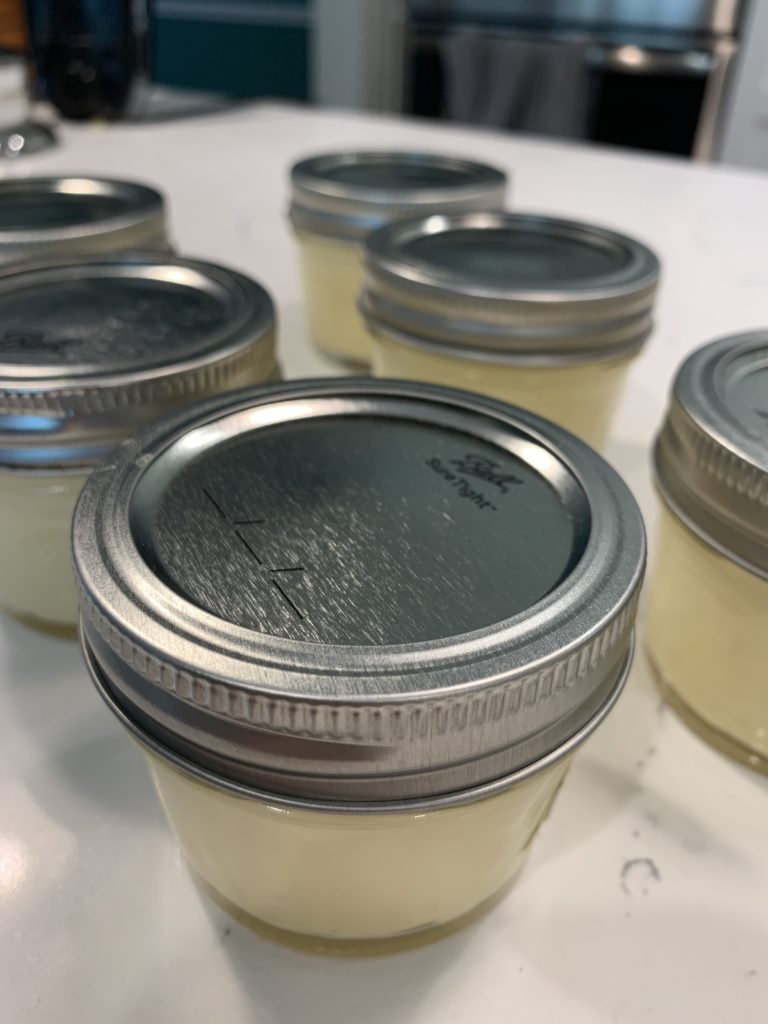
You’ll also need some small lidded jars for this one. I prefer the ones with the two-part metal lids, because they’re less likely to leak. I use Ball jars, but there are tons of brands out there. Make sure you have 8 of them, with lids.
Okay, now that the equipment is covered, we can get to the actual recipe. First off, put the water in your sous vide and set it for 175 degrees Fahrenheit (about 80 Celsius). Check to make sure that the water level will come up just to the level of the top of the jar lids without covering them. Don’t be a dummy like me and forget about the concept of water displacement and have to use a ladle to scoop some out, too.
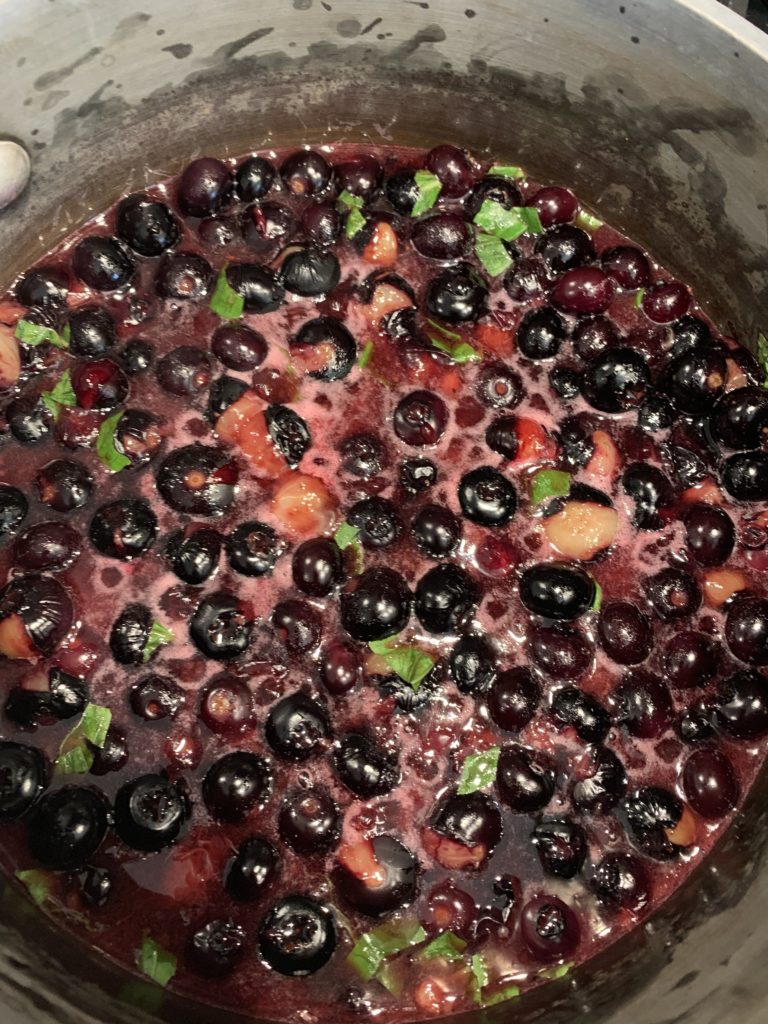
While the sous vide is heating up, start the ingredients. Since the compote requires cooking and cooling, you’ll want to start that first. In a heavy-bottomed saucepan, combine a pint of blueberries, a tablespoon of granulated Swerve, six tablespoons of water, and a teaspoon of lemon juice. Chop 8 medium-sized basil leaves and put those aside. Heat that up, stirring occasionally, until the skins of the blueberries begin to pop and the liquid starts to boil. At this point, add the basil and continue stirring occasionally until the most of the blueberries have popped and the liquid turns deep purple and begins to thicken. At that point, let it boil for 5 minutes without stirring, then stir one remaining time and remove it from the heat. If you want, you can strain it through a fine-mesh strainer, but I like the texture as is.
The few minutes that the blueberry compote is boiling should be enough time to make the cheesecake batter. First, in a large mixing bowl, combine two 8-ounce packages of cream cheese with 1/2 cup of granular Swerve and about 3/4 teaspoon of Kosher salt. Use a hand mixer to blend it, scraping down the sides as you go. Add 3 large eggs and a teaspoon and a half of lemon juice, then mix again. Finally, add 1/4 cup each of heavy cream and sour cream, then mix until it’s completely smooth. You don’t want any cottage-cheesy looking chunks in there! Pour the cheesecake mixture into the jars, making sure to not overfill, since it will expand a bit. I was careful to not fill mine past the bottom rim of the lids. Don’t put the blueberry compote in there yet. Put the lids on, but not too tight, as they might explode if too much pressure builds up. This is why you don’t want the water to come over the top of the lids.
Carefully rest the jars in the sous vide and let them sit for 90 minutes, then remove using kitchen tongs because the water is HOT. Let them sit on the counter until they’re comfortable to touch, then open the lids and add two teaspoons of the blueberry compote to the top of each jar. You’ll have some left over. I’ll be making Monte Cristo sandwiches with the rest of mine next week. It would probably also be good over some grilled chicken with crumbled goat cheese. Once all the jars are topped, you can sprinkle on some toasted pine nuts if you’d like, or some other chopped nuts. I think macadamias or walnuts would be good. Pecans would probably be too sweet. Put the jars in the refrigerator until they’re chilled all the way through. I did mine overnight, because I was eating them for breakfast, but I totally won’t judge if you choose to have them for dessert instead.

As an Amazon Associate I earn from qualifying purchases. Any embedded link to a product earns me a portion of the purchase price if you click and buy it.
Six ingredients and 20 minutes to a great keto meal prep lunch!
Recent Comments